
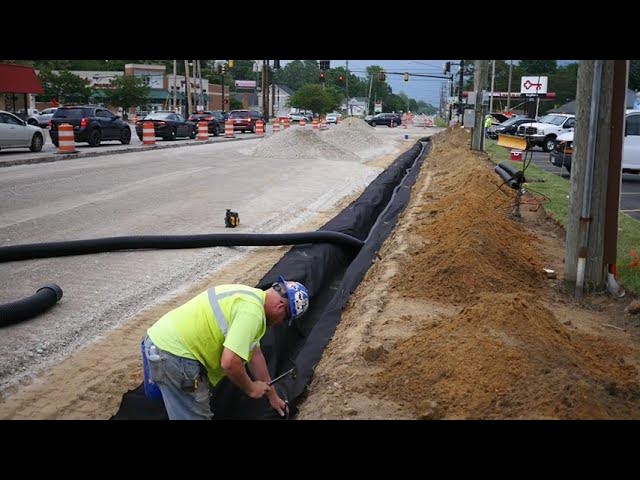
Before a road or driveway fails, you can usually trace the problem back to one thing—drainage. When water doesn’t have a clear path to run off or soak away, it finds its own path underground—washing out base material, softening the subgrade, and eventually undermining pavement or gravel sections.
The good news? Most drainage failures are preventable with the right prep work. Whether you’re building a new approach or repairing an old one, understanding how to manage water from the start will save you major time and money later.
Need a drainage fix or new culvert installed? Contact us for a free quote!
7 Signs Drainage Is Undermining Your Road or Driveway
Drainage problems often start small — a soft spot here, a shallow puddle there — but over time, they lead to major structural issues beneath the surface. When water doesn’t drain properly, it saturates the subgrade and weakens the support layers that your pavement or gravel driveway relies on. Recognizing these early warning signs can help you address the problem before it turns into a full reconstruction project.
You don’t have to be an engineer to spot the symptoms. Look for:
Standing water or long puddles after rain — usually caused by poor slope or low spots.
Soft spots that pump water or fines when you drive over them — a classic sign of a saturated base.
Cracking or edge raveling along asphalt driveways — often where trapped water weakens support.
Culvert ends washed out or exposed — missing riprap or undersized outlets.
Ruts or depressions forming repeatedly in the same area — indicates subgrade movement.
Grass or sediment blocking ditches or swales — stops surface water from draining properly.
Frost heave or settlement through seasonal changes — linked to poor subgrade drainage.
If you notice any combination of these, the damage is already happening below the surface — even if it isn’t visible yet. Acting early can save significant repair costs. A simple inspection or proof-roll test can reveal whether water has softened the base, and addressing slope, ditching, or culvert protection now will help restore stability before the problem spreads.
Why Roads and Driveways Fail (and How Water Plays the Main Role)
Even well-built pavements don’t last if they stay wet. Here are the most common ways drainage issues destroy the structure from underneath:
1. Wrong Cross-Slope or Crown
Roads and driveways should shed water quickly—typically about 2% cross-slope (a ¼-inch drop per foot). Too flat, and water ponds; too steep, and runoff can erode edges or ditches. Modern GPS-controlled grading equipment verifies these slopes down to the tenth of a percent for consistent, predictable drainage.
2. Saturated Subgrade or Base
When the base or subgrade stays wet, water pressure under traffic causes “pumping”—fine material squeezes up through cracks or joints. The surface looks fine at first, but soon develops soft spots and rutting. Installing edge drains or underdrains, or using a permeable aggregate layer, keeps moisture out of the base section.
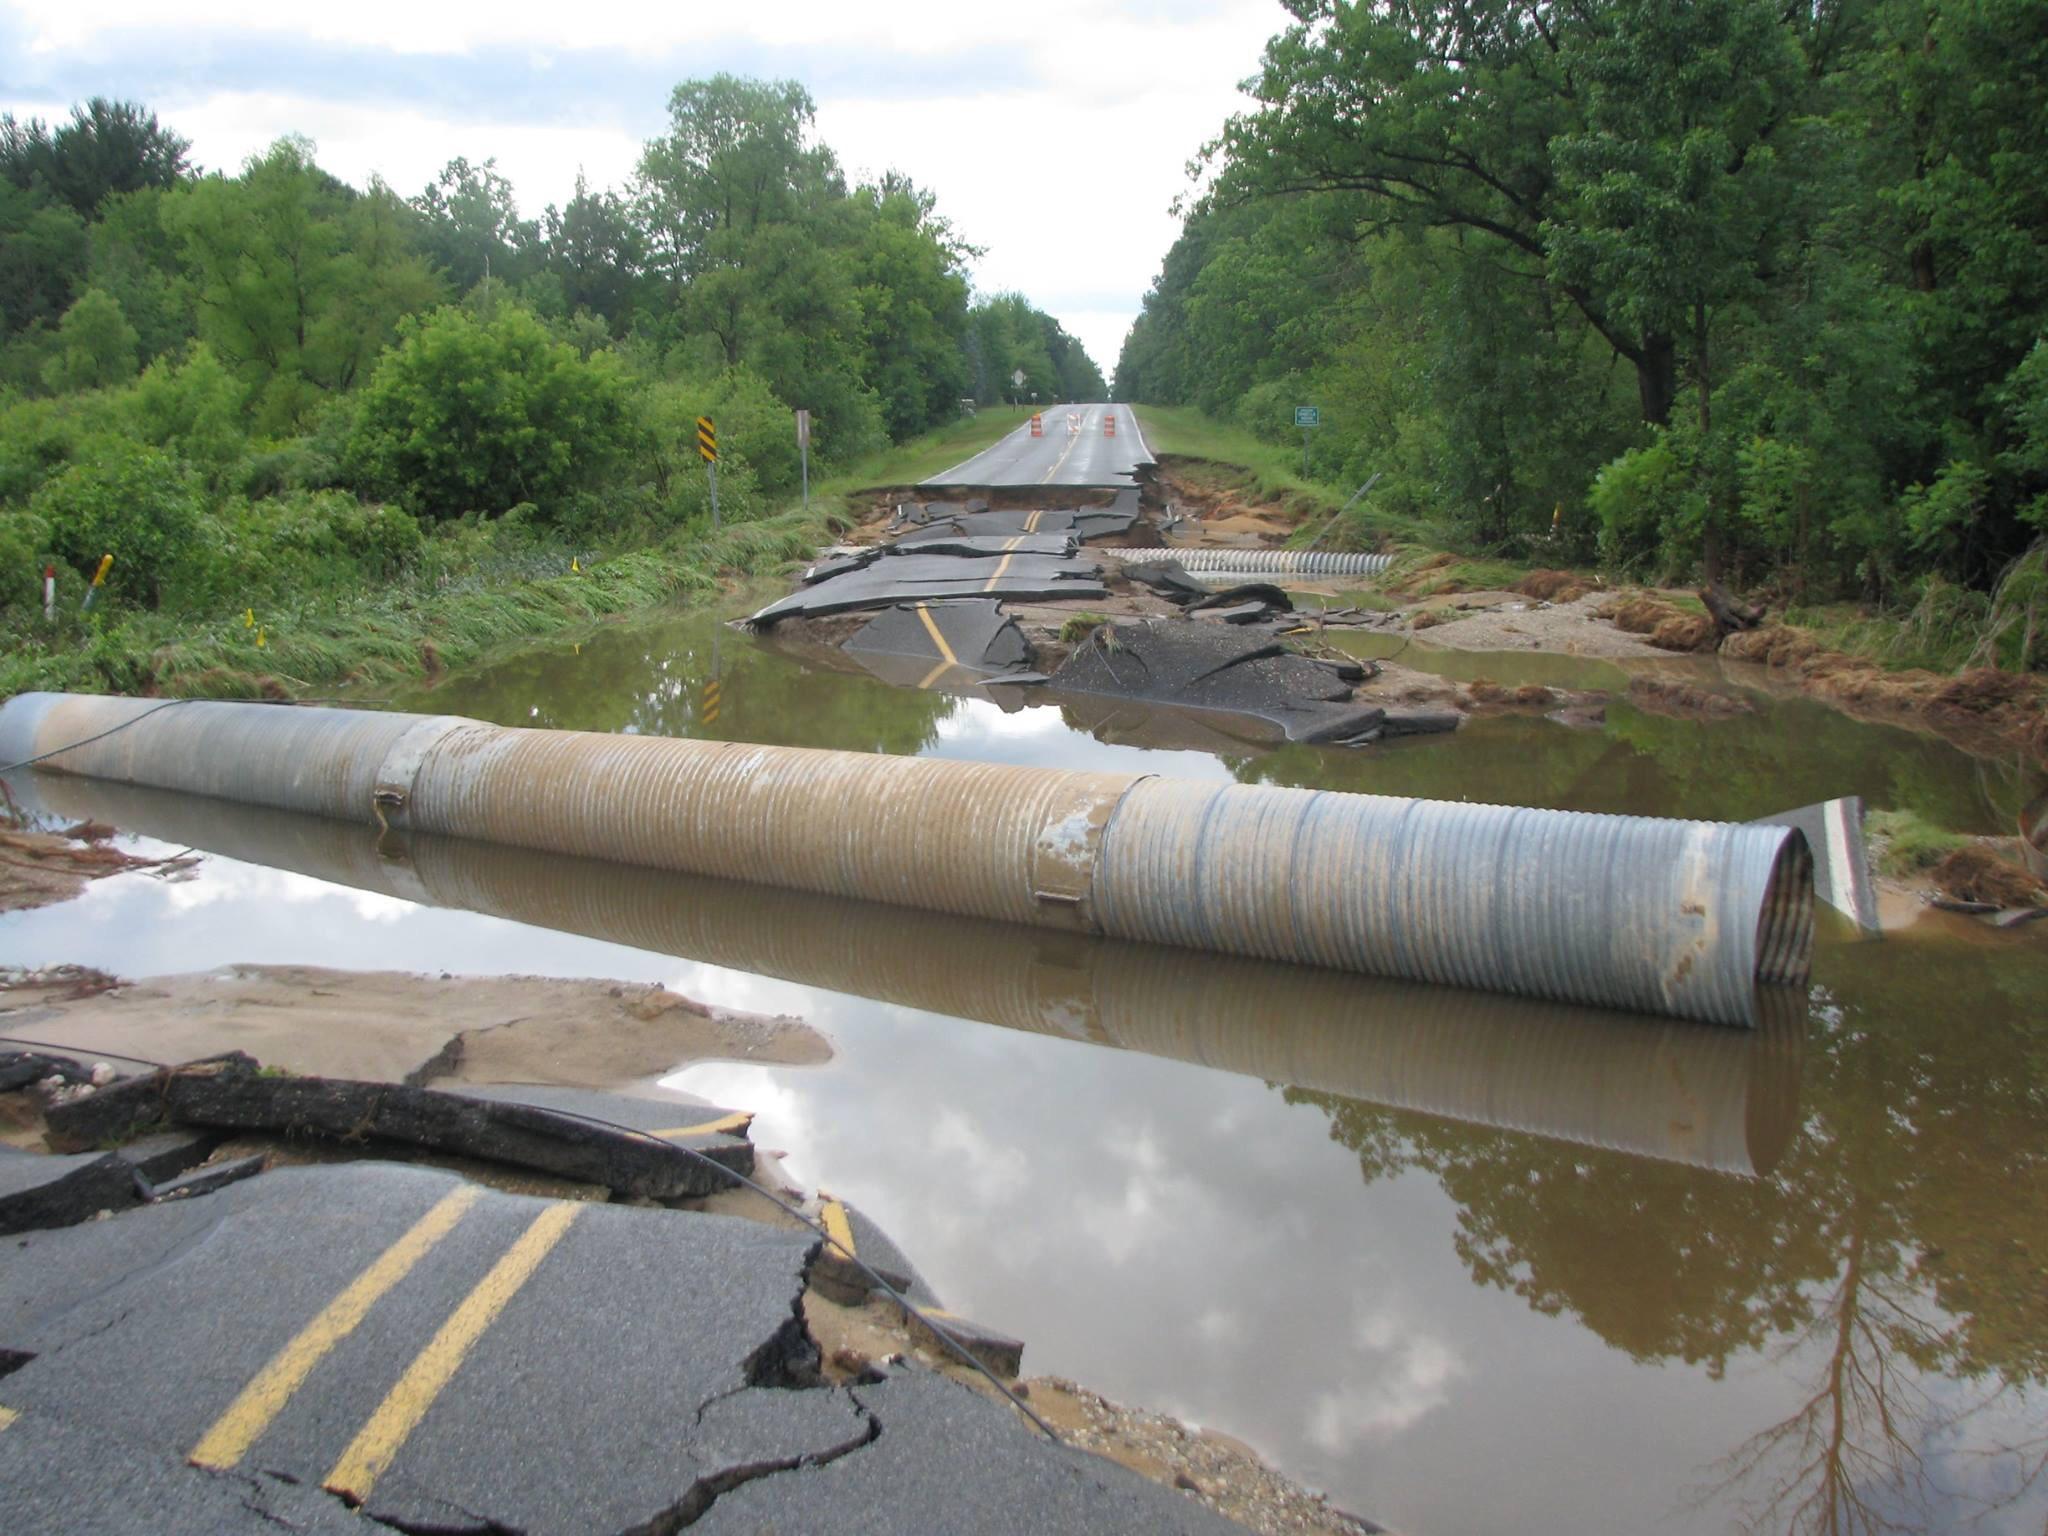
3. Unprotected Culvert Outlets
A culvert’s job is to pass water under the drive or road. But without riprap, headwalls, or flared ends, high-velocity flow can scour the outlet and undermine the structure above it. Proper outlet protection—such as riprap aprons sized to the flow and soil type—stops erosion before it starts.
4. Weak or Organic Subgrade
If a subgrade doesn’t pass a proof-roll—a heavy truck test that checks for soft or pumping spots—it won’t hold up to traffic. The fix is to undercut weak areas, replace them with stable material, and recompact to spec.
5. Poor Compaction
Subgrade and base layers should be compacted to roughly 95% of the Modified Proctor density (per city or MoDOT standards). Without that density, even small voids let water collect and weaken the structure. Contractors can track compaction targets using on-site testing and laser or GPS verification.
A Drainage-First Approach to Road and Driveway Prep
Our team treats every site like a drainage system first, and a road second. That’s how we keep projects on schedule and reduce callbacks later.
Step 1: Shape for Positive Flow
Verify slope and crown with GPS machine control (around 2% for paved, 3–4% for gravel).
Maintain consistent elevation to direct water to ditches, swales, or inlets.
Step 2: Compact and Proof-Roll
Compact the subgrade to 95% Modified Proctor density.
Conduct a proof-roll to locate soft or wet spots.
Undercut any weak areas and replace them with compacted aggregate.
Step 3: Add Geotextile and Stabilization (When Needed)
Place a geotextile separator between clay soils and aggregate base to stop mixing.
Use lime or cement stabilization for wet, fine-grained soils that can’t be dried quickly.
Step 4: Install Subsurface Drains
Add edge drains or underdrains near curbs or shoulders where water tends to collect.
Connect drains to stable outlets or ditch lines.
Step 5: Protect Culvert Inlets and Outlets
Proper sizing and alignment per design or municipal standards.
Add headwalls, flared ends, and riprap aprons to prevent scour and keep embankments stable.
This full-scope approach ensures the site passes proof-roll the first time and is ready for paving or surface treatment on schedule.
Culverts That Last: Design and Protection Basics
Even a correctly sized culvert can fail if fast-moving water hits bare soil at the outlet. Long-term performance depends on adding the right protective details during installation:
Riprap apron: A layer of rock placed at the outlet to slow water velocity and prevent scour.
Headwall: A concrete or block structure that holds back the embankment and prevents soil loss.
Flared end section: A widened outlet that disperses water energy and reduces erosion.
Erosion blanket or turf reinforcement: Helps control minor flows along ditches until vegetation takes hold.
These small additions make a big difference—protecting the structure, stabilizing slopes, and reducing the need for future replacement.
Field Checklist: How to Catch Drainage Issues Early
You can check many of these items visually:
Item | What to Look For |
Crown or cross-slope | Water should drain off, not sit in tire paths. |
Ditches and swales | Continuous grade, no standing water or sediment blockages. |
Culvert inlets/outlets | Clear of debris, no soil washout, riprap intact. |
Base condition | No pumping or fines visible during proof-roll or compaction. |
Surface | Even texture, no rutting after rainfall. |
If more than one area fails the test, it’s time for a site evaluation.
When to Add Underdrains vs. Reshape Ditches
Underdrains: Best suited for paved areas, curbed roadways, or tight sites where surface runoff is limited. They collect and redirect water trapped beneath the pavement to a safe outlet.
Ditches and swales: Work best for rural driveways or open-shoulder roads. They’re easier to inspect, clean, and maintain over time.
A qualified grading or drainage contractor can determine which option fits your site based on soil type, available space, and local stormwater requirements.
Kansas City Conditions: Why Drainage Planning Matters More Here
The KC metro sees heavy spring rains, freeze-thaw cycles, and a mix of clay and silty soils—all tough on road bases. Those soils hold moisture and expand when frozen, leading to cracks, settlement, and edge failures.
Experienced grading contractors across the Kansas City metro—from Lee’s Summit and Blue Springs to Grain Valley, Independence, Liberty, and Oak Grove—use GPS-accurate grading, density testing, and drainage-first planning to deliver reliable, long-lasting results for developers, contractors, and landowners.

FAQs About Driveway and Road Drainage Problems
What slope should my driveway or road have?
Most paved drives are built with about a 2% cross-slope (roughly a ¼-inch drop per foot) to shed water quickly. Gravel drives may use up to 4% for better surface runoff. If water pools after rain, your slope is likely too flat or uneven.
What’s a proof-roll, and why is it important?
A proof-roll uses a fully loaded dump truck or roller to check the subgrade for soft or pumping areas before paving. If the soil deflects or weeps water, it needs to be undercut or stabilized first — otherwise the base will fail once traffic loads begin.
Do I need riprap at my culvert outlet?
Almost always. Riprap protects the soil at the culvert outlet from high-velocity flow and prevents scour that can wash out a driveway or road approach. Proper sizing and placement are key to keeping the structure stable through heavy storms.
Why does my base pump water after rain?
“Pumping” happens when the base or subgrade stays saturated and water is forced upward under traffic. Installing underdrains, reshaping ditches, or improving the cross-slope can help remove moisture and restore stability.
How can I prevent future drainage failures?
Maintain clear ditches and culvert openings, keep vegetation trimmed, and check for standing water after major rain. Early inspection and regrading are far less costly than repairing a washed-out base later.
Keep Drainage from Undermining Your Investment
Water always finds the weak spot—especially beneath pavement. The best defense is building drainage into your site from day one. With proper grading, compaction, and culvert protection, your road or driveway will stay stable through every season.
If you’re seeing washouts, soft spots, or drainage issues starting to form, it’s worth getting a professional opinion before the damage spreads.
Contact us to schedule a free site visit and quote — we’ll evaluate your grades, culverts, and drainage flow to recommend solutions that keep your pavement solid for years to come.
More Articles


Load More